Optimizing Project Management Using DTM: Advanced Project Creation
Introduction
In our previous discussions, we explored how to create and promote a project template effectively. Now, we will delve into the steps for creating a new project using advanced project templates.
Project Creation Process
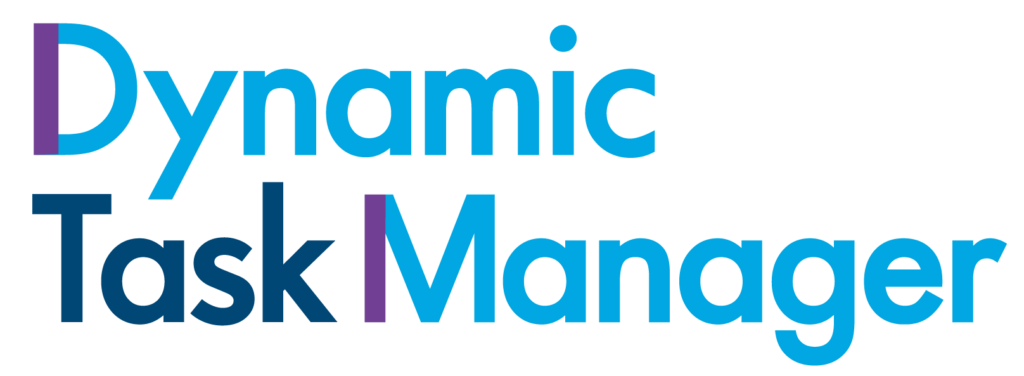
To begin creating a project, you will need to enter specific details and make selections that define the project’s framework. Below are the essential fields required on the project creation UI:
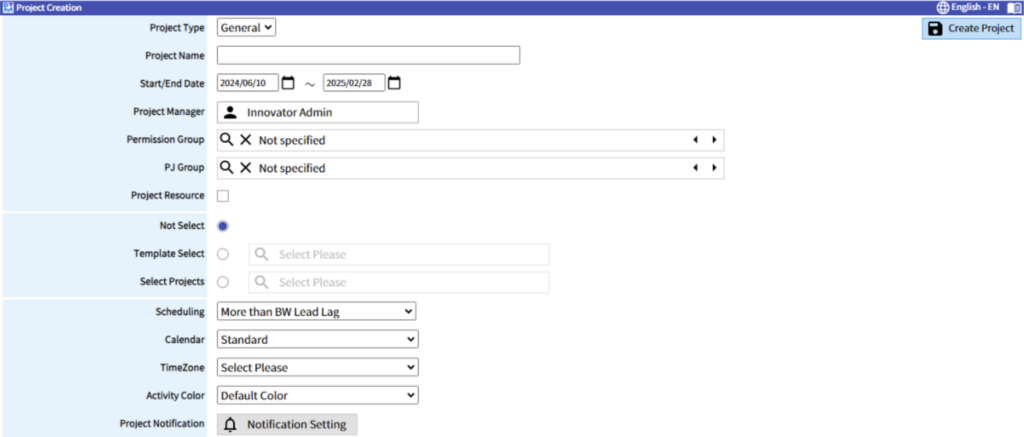
1. Project Type
- Options: General or CCPM (Critical Chain Project Management).
- Description: Selecting CCPM allows setting buffers for each Work Breakdown Structure (WBS) and switches the Gantt chart function to track the remaining man-hours.
2. Project Name
- Description: Enter a distinctive name that identifies the project.
3. Start/End Date
- Description: Select the project’s start and end dates. These dates serve as the base for template selection, scheduling, and other time-related settings.
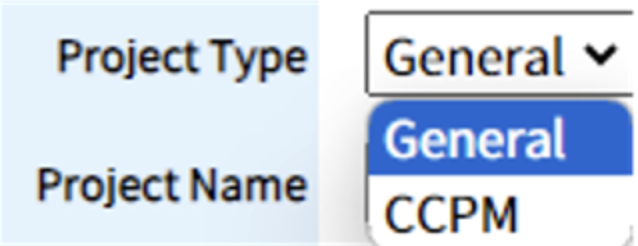
4. Project Manager
- Description: Select the project manager responsible for overseeing the project.
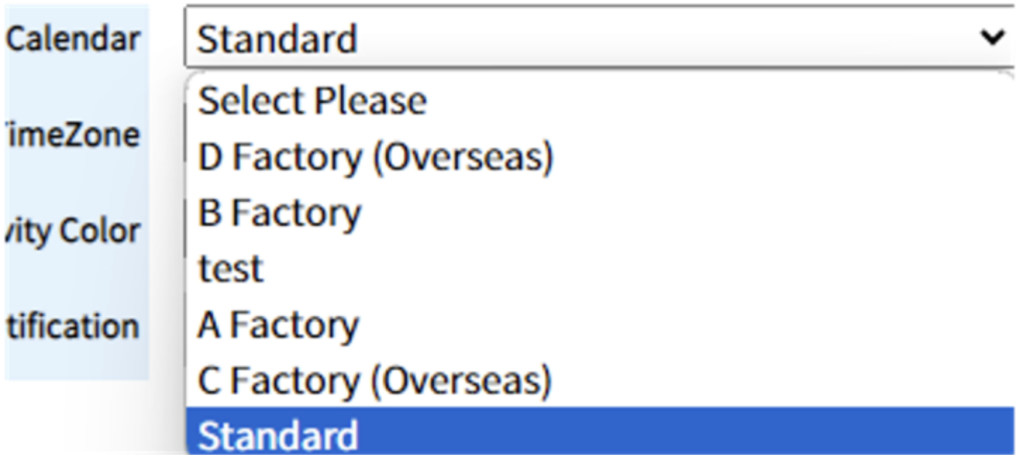
5. Calendar
- Description: Choose the holiday calendar specific to the project. Calendars should be pre-registered in the Calendar Master.
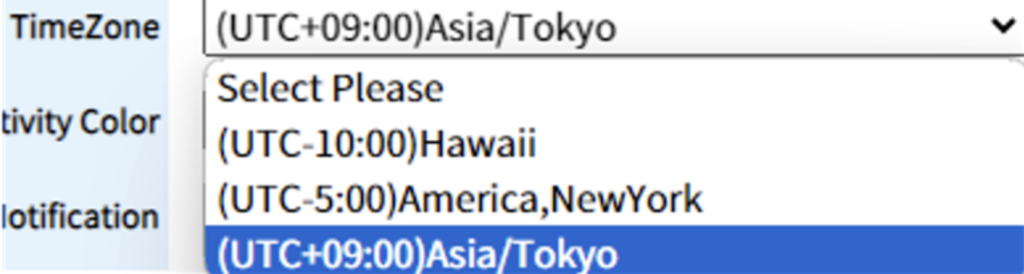
6. Time Zone
- Description: Select the time zone applicable to the project, registered in the Time Zone Master.
Additional Optional Fields
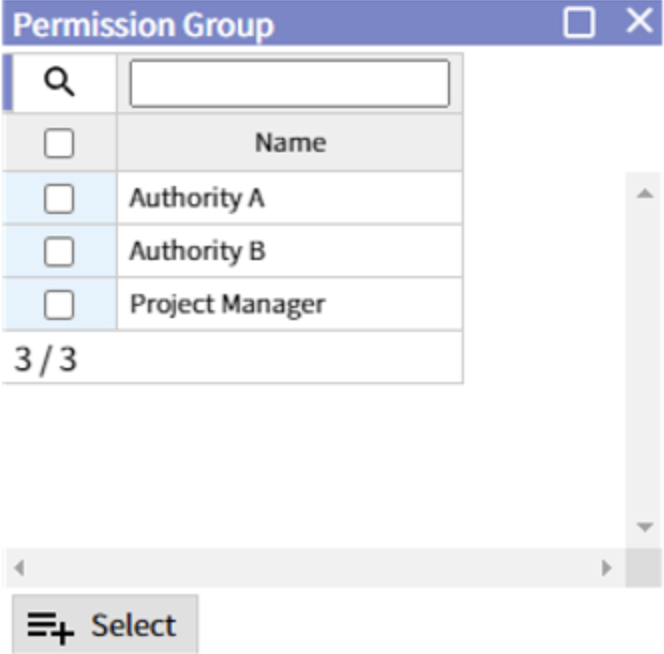
7. Permission Group
- Description: Set permissions during the initial pending state post-project creation. Permission groups are pre-registered in the Project Permission Group Master.
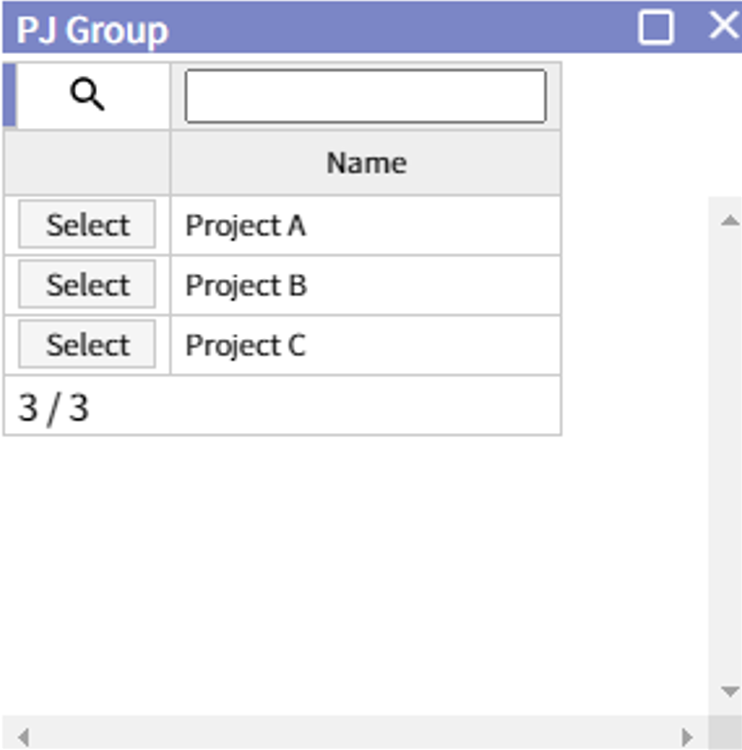
8. Project Group (PJ Group)
- Description: Select the project group, pre-registered in the PJ Group Master.
9. Project Resource
- Description: If this attribute is checked, project resources will be selectable in the Gantt chart, and only those identities set as project resources can be assigned to activities and milestones.
10. Template Selection
- Options: Not Select, Template Select, Select Projects.
- Description: Choose whether to start from scratch, use a project template, or select an existing project.
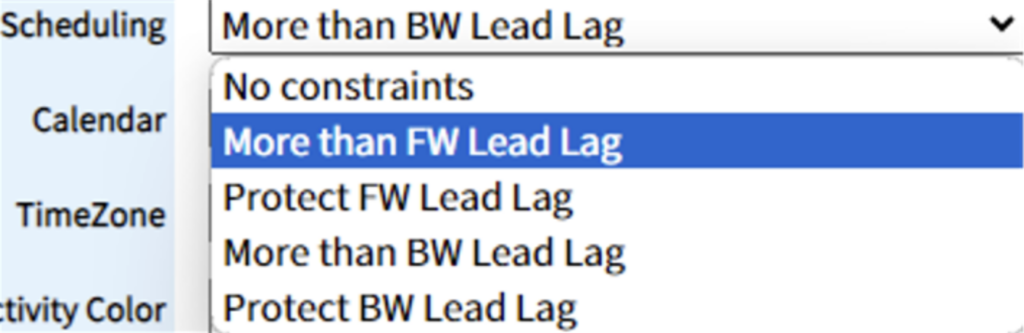
11. Scheduling Options
- Options: No constraints, More than FW Lead Lag, Protect FW Lead Lag, More than BW Lead Lag, Protect BW Lead Lag.
- Description: Select a scheduling constraint option if no template or existing project is chosen.
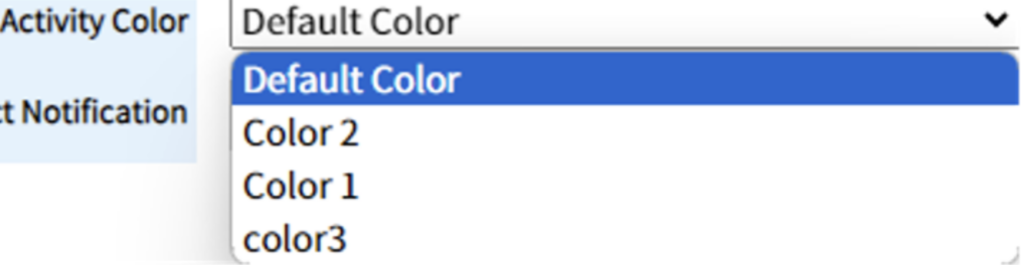
12. Activity Color
- Description: Select a master color combination for normal, delayed, and completed activities. These are pre-registered in the activity color setting master.
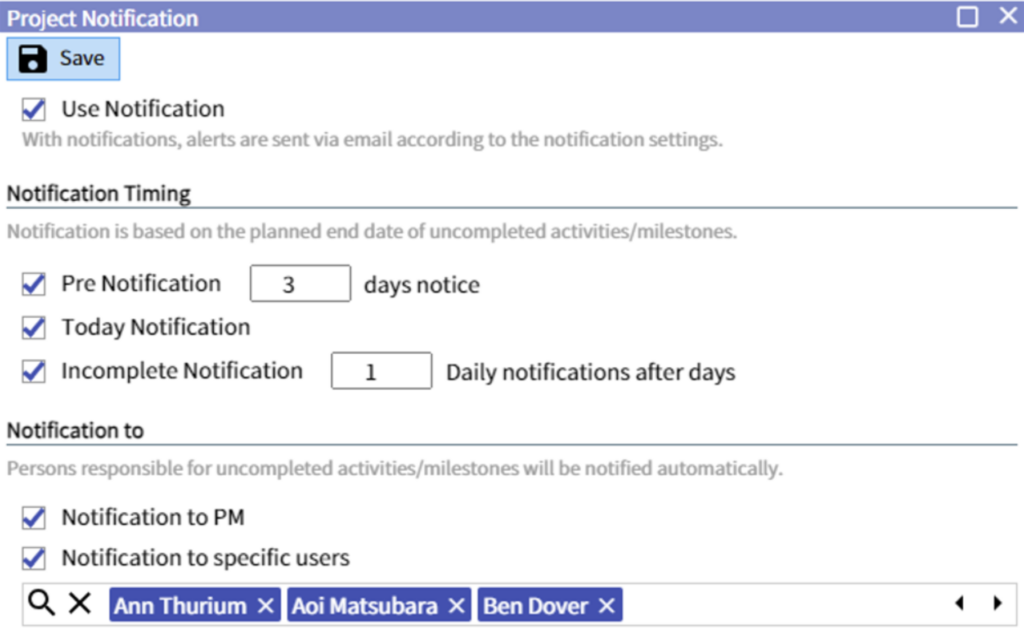
13. Project Notification
- Description: Configure project notification settings, including timing and recipients. Note that Aras Scheduling Service setup is required for this feature.
Finalizing Project Creation
After setting these attributes, click the Create Project button. This action generates the project and opens the Gantt Chart UI for further configuration. Here, you can confirm the project schedule, assign members, and define scheduled deliverables.
In the next issue, we will introduce the functions of the Gantt Chart UI in detail, providing insights into optimizing project management using these advanced features.